How to fix a leaky kitchen faucet?
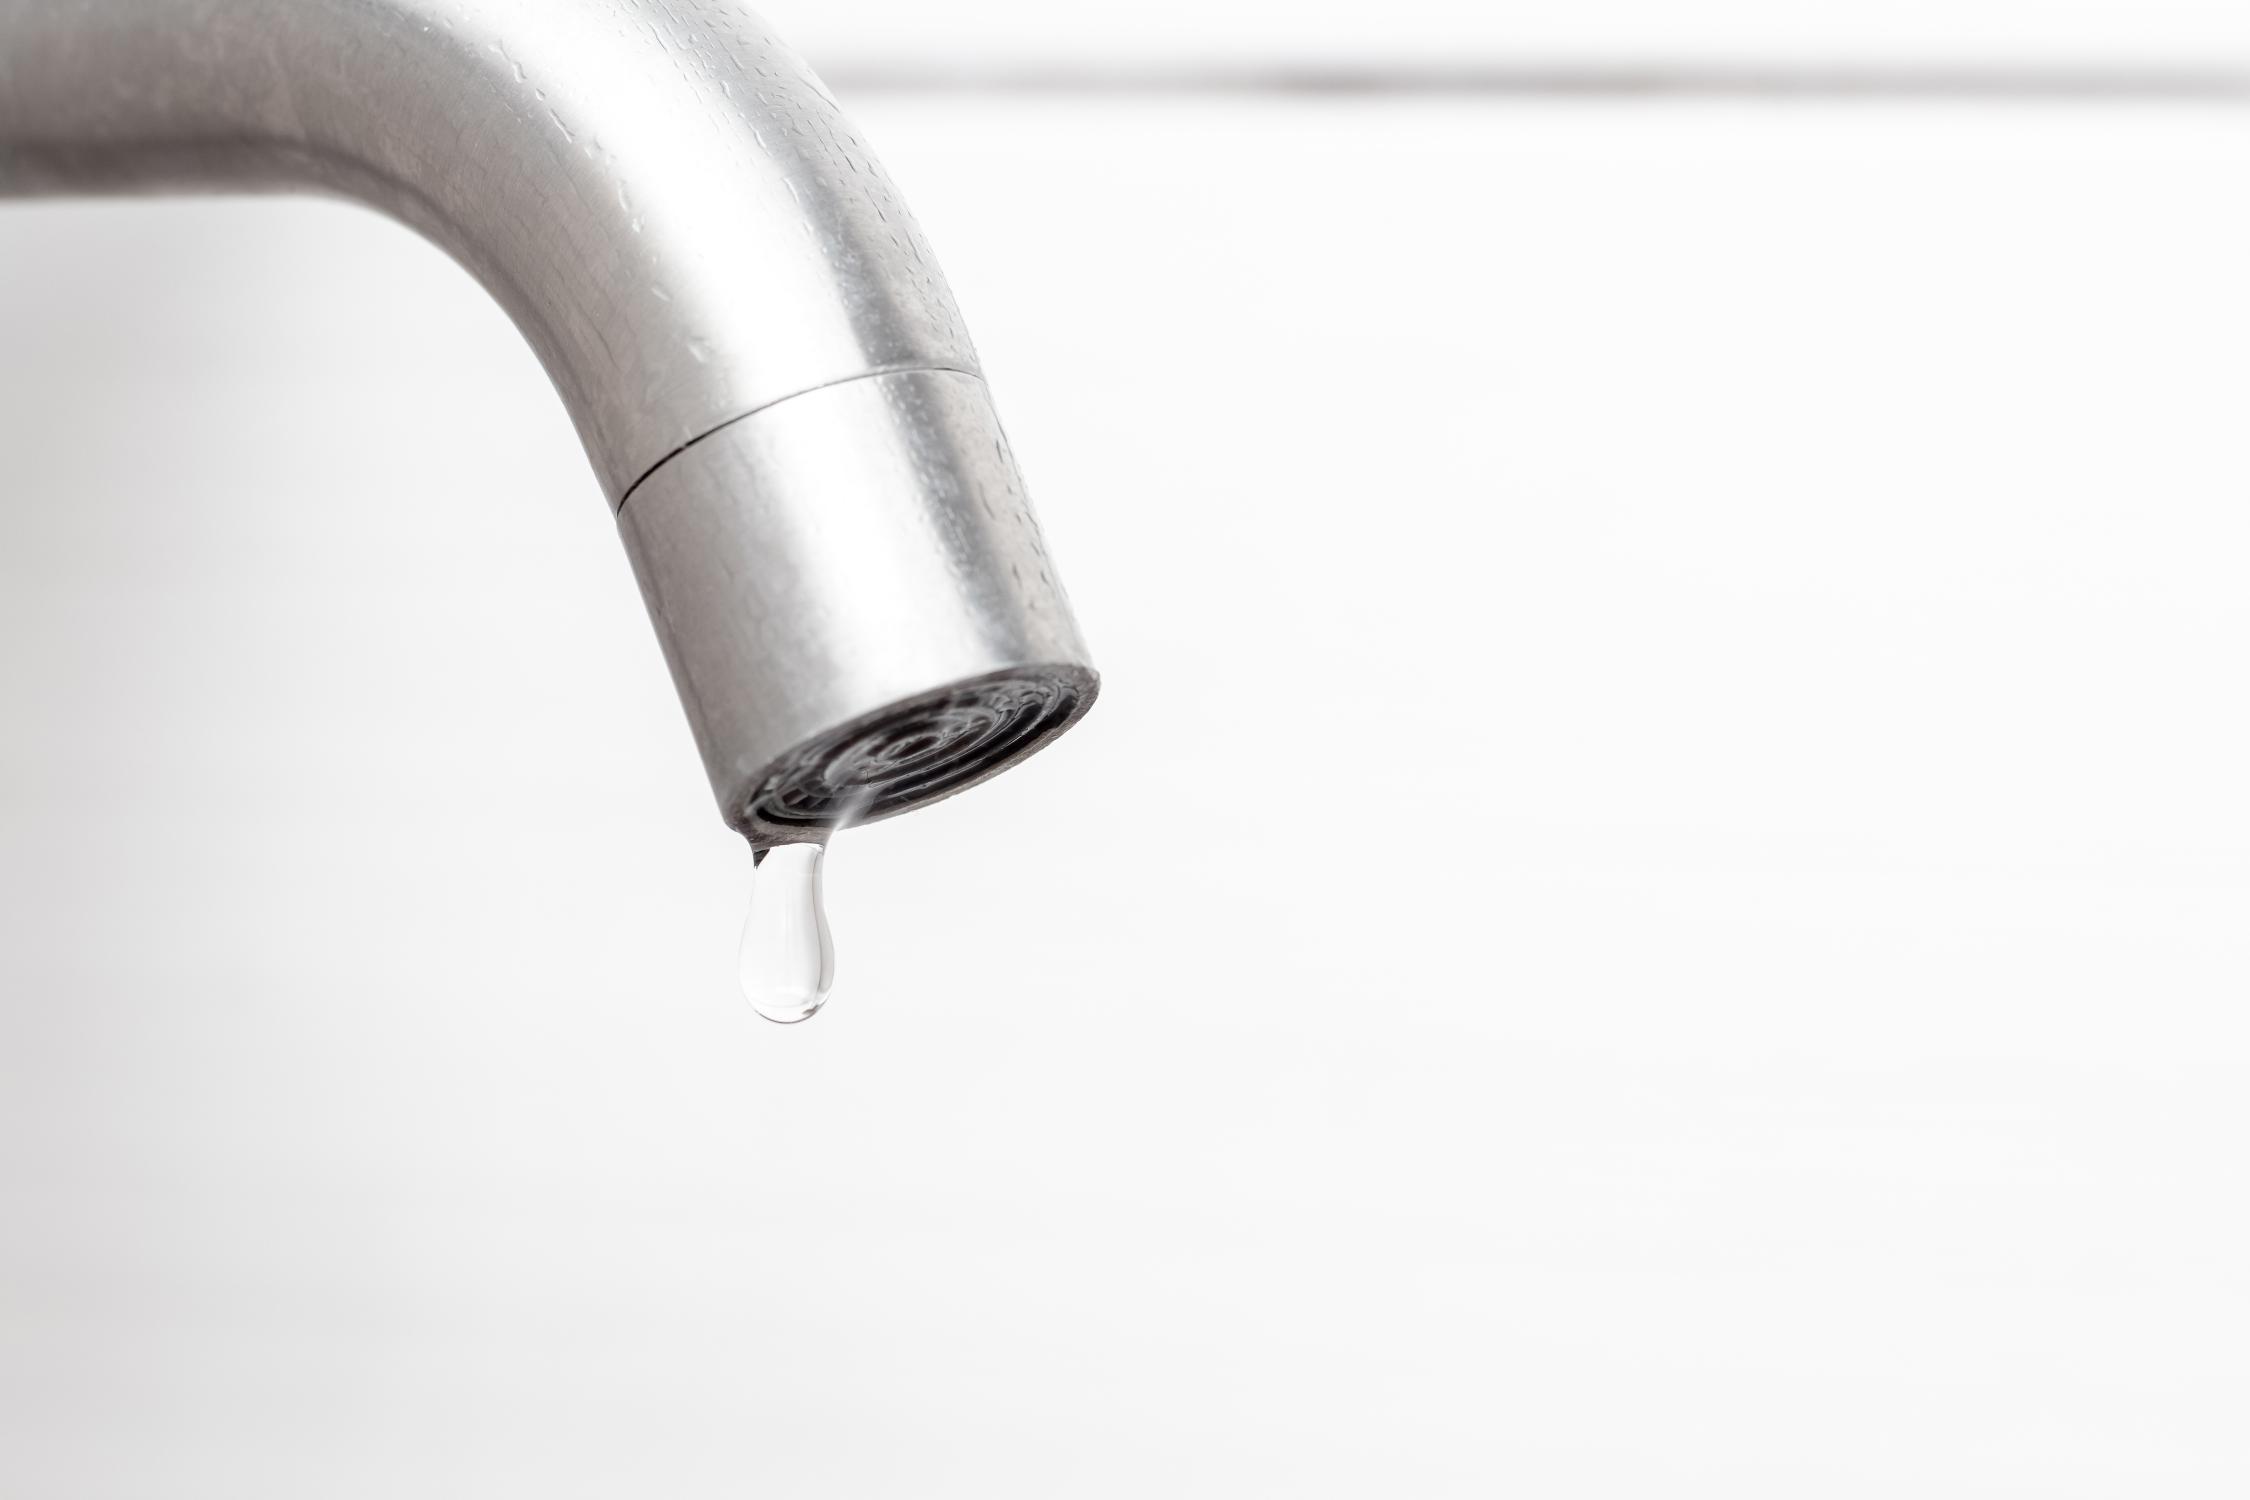
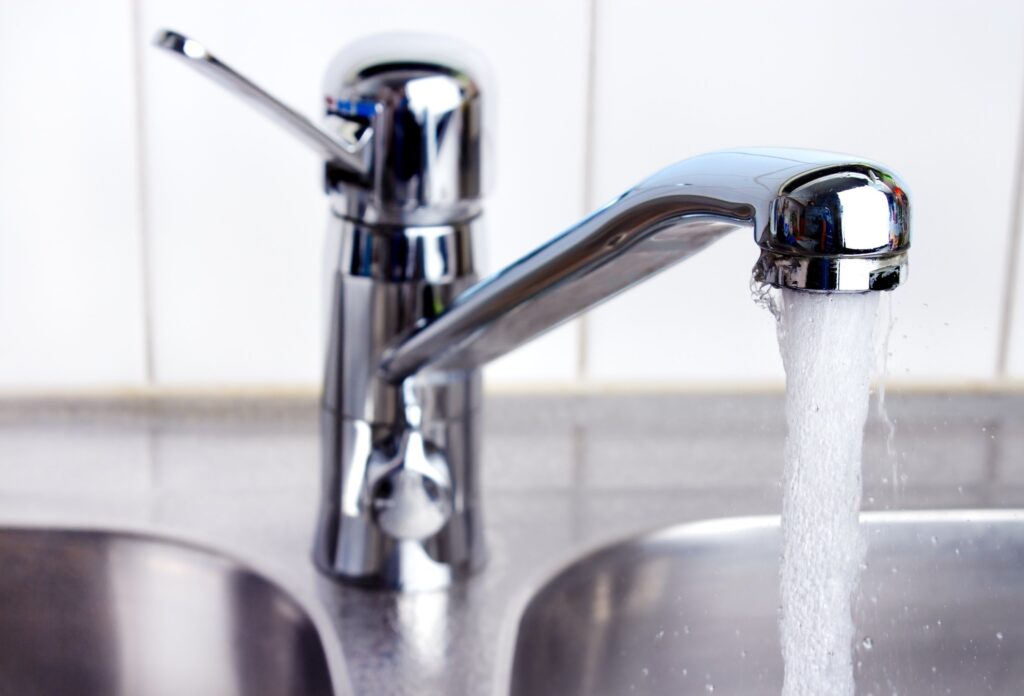
A leaky kitchen faucet is not only annoying, but it’s also wasteful. Learning how to fix a leaky kitchen faucet is a simple task that you can do on your own, without hiring a plumber.
From Universal de Gaucetería, we explain how to solve this problem with some easy steps and useful tips to prevent the dripping from continuing. If your kitchen faucet or your If a wall-mounted kitchen faucet leaks water or has a constant drip, follow this guide to repair it quickly and effectively.
Why is my kitchen faucet leaking?
A dripping kitchen faucet can be caused by a variety of factors. The most common reasons include worn washers, a faulty valve , or limescale buildup.
If you’re wondering why my kitchen faucet is leaking, it’s probably because of one of these causes. Therefore, performing a detailed inspection and replacing damaged parts is essential to solve the problem.
How to fix a kitchen faucet without a plumber?
Fixing a leaky kitchen faucet without a plumber is entirely possible if you follow the proper steps. Many problems with kitchen faucets, such as dripping, can be solved quickly with the right tools and parts.
You don’t need to be a plumbing expert to fix a kitchen faucet leak; Just be patient and follow the repair instructions carefully. Start.
Step 1: Turn off the water supply
Before you start any repairs, it’s important to turn off the water supply. Locate the water shut-off valves under the sink and close them completely. This will prevent the water from continuing to flow while you work on the tap and ensure that there are no spills. Then, turn on the faucet so that the remaining water in the pipes is emptied.
Step 2: Inspect the faucet to find the source of the drip
It is essential to identify the source of the problem before attempting to repair it. Faucets can leak for a number of reasons, including:
- Worn or damaged washers: These are one of the most common causes of a leaky faucet.
- Damaged valve seats: This can occur from continuous use of the faucet.
- Build-up of limescale deposits: hard water can leave deposits that affect the operation of the tap.
Using a screwdriver, remove the faucet cap to see the internal parts and examine if any of these parts appear worn or damaged. If the dripping is coming from the base, it’s probably a damaged washer.
Step 3: Disassemble the faucet to repair the dripping
Once you’ve identified the cause of the dripping, you’ll need to disassemble the faucet in order to access the internal parts. Use an adjustable wrench or wrench to loosen the nuts that hold the faucet to the base. Next, disassemble the faucet parts to access the washers and valve. Take note of how the parts are organized so that you can reassemble them properly.
Step 4: Change the washer or damaged part
If the problem is caused by a worn washer, it’s best to replace it with a new one. Washers are pieces of rubber or similar material found on the inside of the faucet. You can buy a new one at any hardware store.
If your faucet has a leak in another component, such as the valve or cartridge, you may need to replace those parts as well. To repair a kitchen faucet leak, make sure that the parts you install are of the same size and type as the original ones.
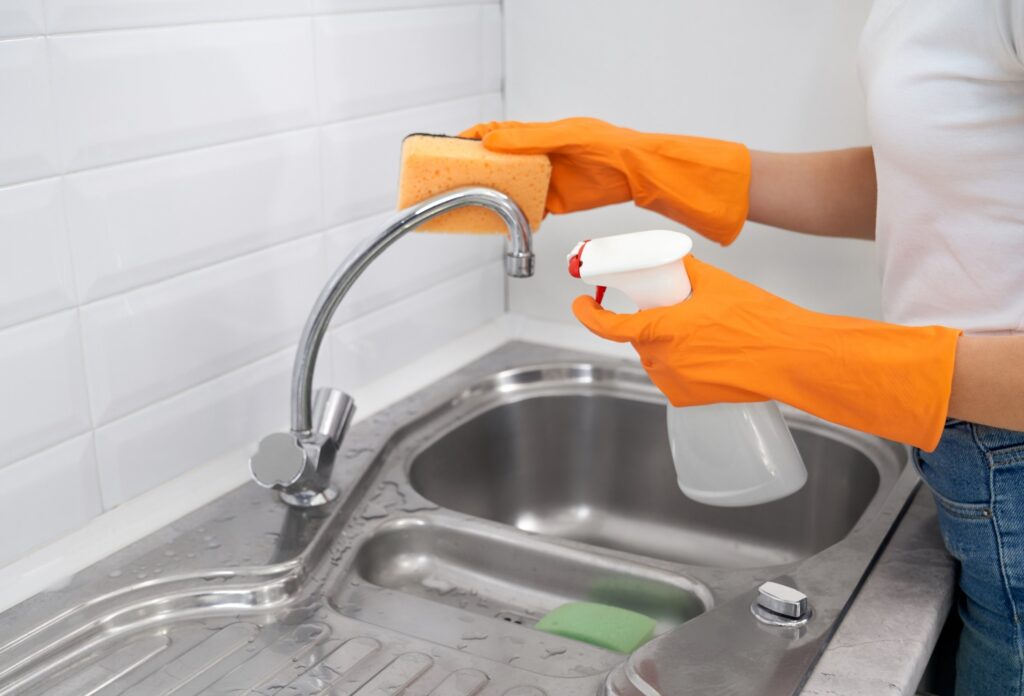
Step 5: Clean and descale the internal parts
If you notice limescale or dirt deposits on the internal parts of the faucet, use a limescale or vinegar cleaner to disinfect and clean the parts. This is especially important if your kitchen faucet leaks due to mineral buildup or hard water deposits. Soak the metal pieces in white vinegar for 30 minutes to remove any residue and clean them properly.
Step 6: Reassemble the tap
Once you’ve replaced the damaged parts and cleaned the internals, it’s time to reassemble the faucet. Make sure all the pieces are positioned correctly before tightening the nuts. It is important that everything fits together well to avoid later leaks. Use a wrench to tighten the nuts securely, but without forcing them too hard.
Step 7: Check the tap and test the operation
Once you’ve reassembled the faucet, it’s time to turn on the water supply and test if the dripping is gone. Turn on the faucet slowly and check if the water is flowing properly. If the dripping persists, there may still be some damaged parts or parts that have not been placed correctly. If everything is fine, your faucet should no longer leak water.
Step 8: How to Prevent Kitchen Faucet from Leaking in the Future
Once you’ve repaired your faucet, there are a few preventative steps you can take to prevent future drips:
- Keep washers in good condition: replace them regularly to avoid wear and tear.
- Clean the faucet parts regularly: remove limescale deposits and residues to ensure proper operation.
- Don’t over-tighten the faucet – this can damage the internal parts, leading to leaks.
Quick fix for dripping kitchen faucet
If the dripping is very mild, you can try a temporary fix to stop the water leak without having to disassemble the faucet completely. One option is to tighten the faucet connections a little, as sometimes dripping is due to a leak in the joints. However, this is only a workaround, and it is best to make the proper repair as soon as possible.
Repair your kitchen faucet yourself
Fixing a leaky kitchen faucet is not a difficult task if you follow the right steps. Changing washers or damaged internal parts, cleaning parts, and reassembling the faucet are all simple processes you can do yourself.
Don’t let a leaky faucet be an ongoing nuisance. Fix it with these instructions to repair taps and your kitchen will be in perfect condition